


Popcorn Ceiling Removal
How to Remove a Popcorn Ceiling

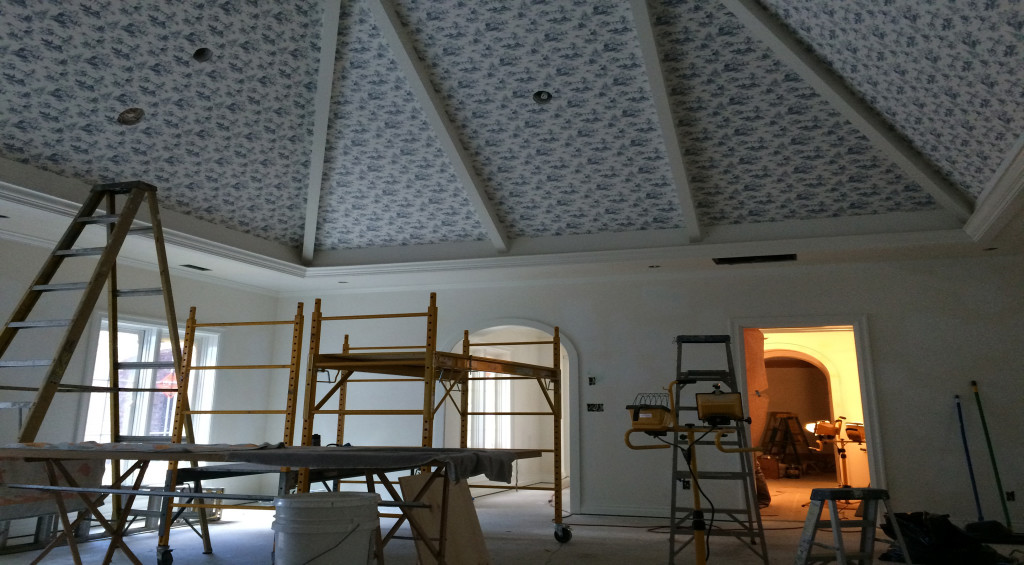
For many decades, popcorn texture was the standard way to finish the ceiling of a room, and thousands of homes in the Washington area still sport this outdated style. Most new homes are now finished with flat ceilings, and painted ceilings are now becoming quite popular. Fortunately, popcorn ceilings can be removed and the ceilings can be repainted, creating an elegant, modern look in older homes.
While most painters offer popcorn ceiling removal, some homeowners prefer to tackle the project themselves. While the procedure is not too complex for a beginner, be aware it is quite messy. For those who have not tried it before, it is also important to realize that working with your arms above your head for extended periods of time is surprisingly difficult.
Begin by protecting your room with lots of plastic sheeting, which can be bought at any paint or home improvement store. First cover the floor, then tape plastic to the walls, right below the ceiling or the crown molding. If you are planning to paint the walls, this is less vital, but it will still save time in cleanup.
The key to efficiently removing popcorn texture is to get it wet. Most people prefer to do this with a pump sprayer, which can easily control the flow. If you use water, spray small patches of 4-5 square feet at a time, since if you spray the whole ceiling, most of it will dry before you get to it. Some people recommend using paint to wet the popcorn texture. If you buy old “reject” paint from a store, it is quite cheap, and the color doesn’t matter. The advantage to wetting the popcorn with paint is that it will stay wet longer.
Once the popcorn ceiling texture is wet, scrape it off using a wide-bladed putty knife. If you use a file to round off the corners of the knife, that will help prevent gouges and scratches in the surface. Use long strokes and try to avoid scraping immediately above your head. Repeat the procedure until all the popcorn texture is removed. Now wrap up your plastic floor cover with the texture inside it, and throw it away.
Before you paint, your ceiling will probably need some repair. Use wide putty knife to apply drywall compound to any places where the ceiling has gouges, nail holes or other imperfections. Sand the repaired spots with a drywall pole-sander once they are dry.
Now you are ready to paint! Begin with a primer that is labeled for bare wallboard use, then paint your ceiling using a flat or satin paint.
Important Notice: Many popcorn ceilings were installed using a formula that contained asbestos. While this was banned from production in 1978, contractors were still allowed to use up their supply of the material well into the 1980’s. If you think your popcorn ceilings may contain asbestos, have it tested before you tackle this project. If your ceiling does contain asbestos, it is best to have the material removed or covered by a certified painting contractor.
Painters USA provides popcorn ceiling removal, and we are experienced and trained to deal with lead paint and asbestos issues. We work in the Kitsap County WA Call us for a free estimate regarding popcorn ceiling removal.


